

How to add an image in a Django Project - step by step explanation and guide
Easy 6 steps


Step 1: Define a model with ImageField
The first step is to define a model that has an ImageField. For example, let's say we have a model called "Product" which has a field for an image:
class Blog(models.Model):
    title = models.CharField(max_length = 200)
    description = models.TextField(null=True, blank = True)
    featured_image = models.ImageField(null = True, blank = True, default = "default.jpeg")
    demo_link = models.CharField(max_length = 200, null = True, blank = True)
    source_link = models.CharField(max_length = 200, null = True, blank = True)
    tags = models.ManyToManyField('Tag', blank = True)
    vote_total = models.IntegerField(default = 0, null = True, blank = True)
    Vote_ratio = models.IntegerField(default = 0, null = True, blank = True)
    created = models.DateTimeField(auto_now_add = True)
    id = models.UUIDField(default = uuid.uuid4,unique = True, primary_key = True, editable = False)
As we can see we have added the field featured_image in the Blog model. The image field is of type ImageField and has a upload_to parameter that specifies where the image should be uploaded.
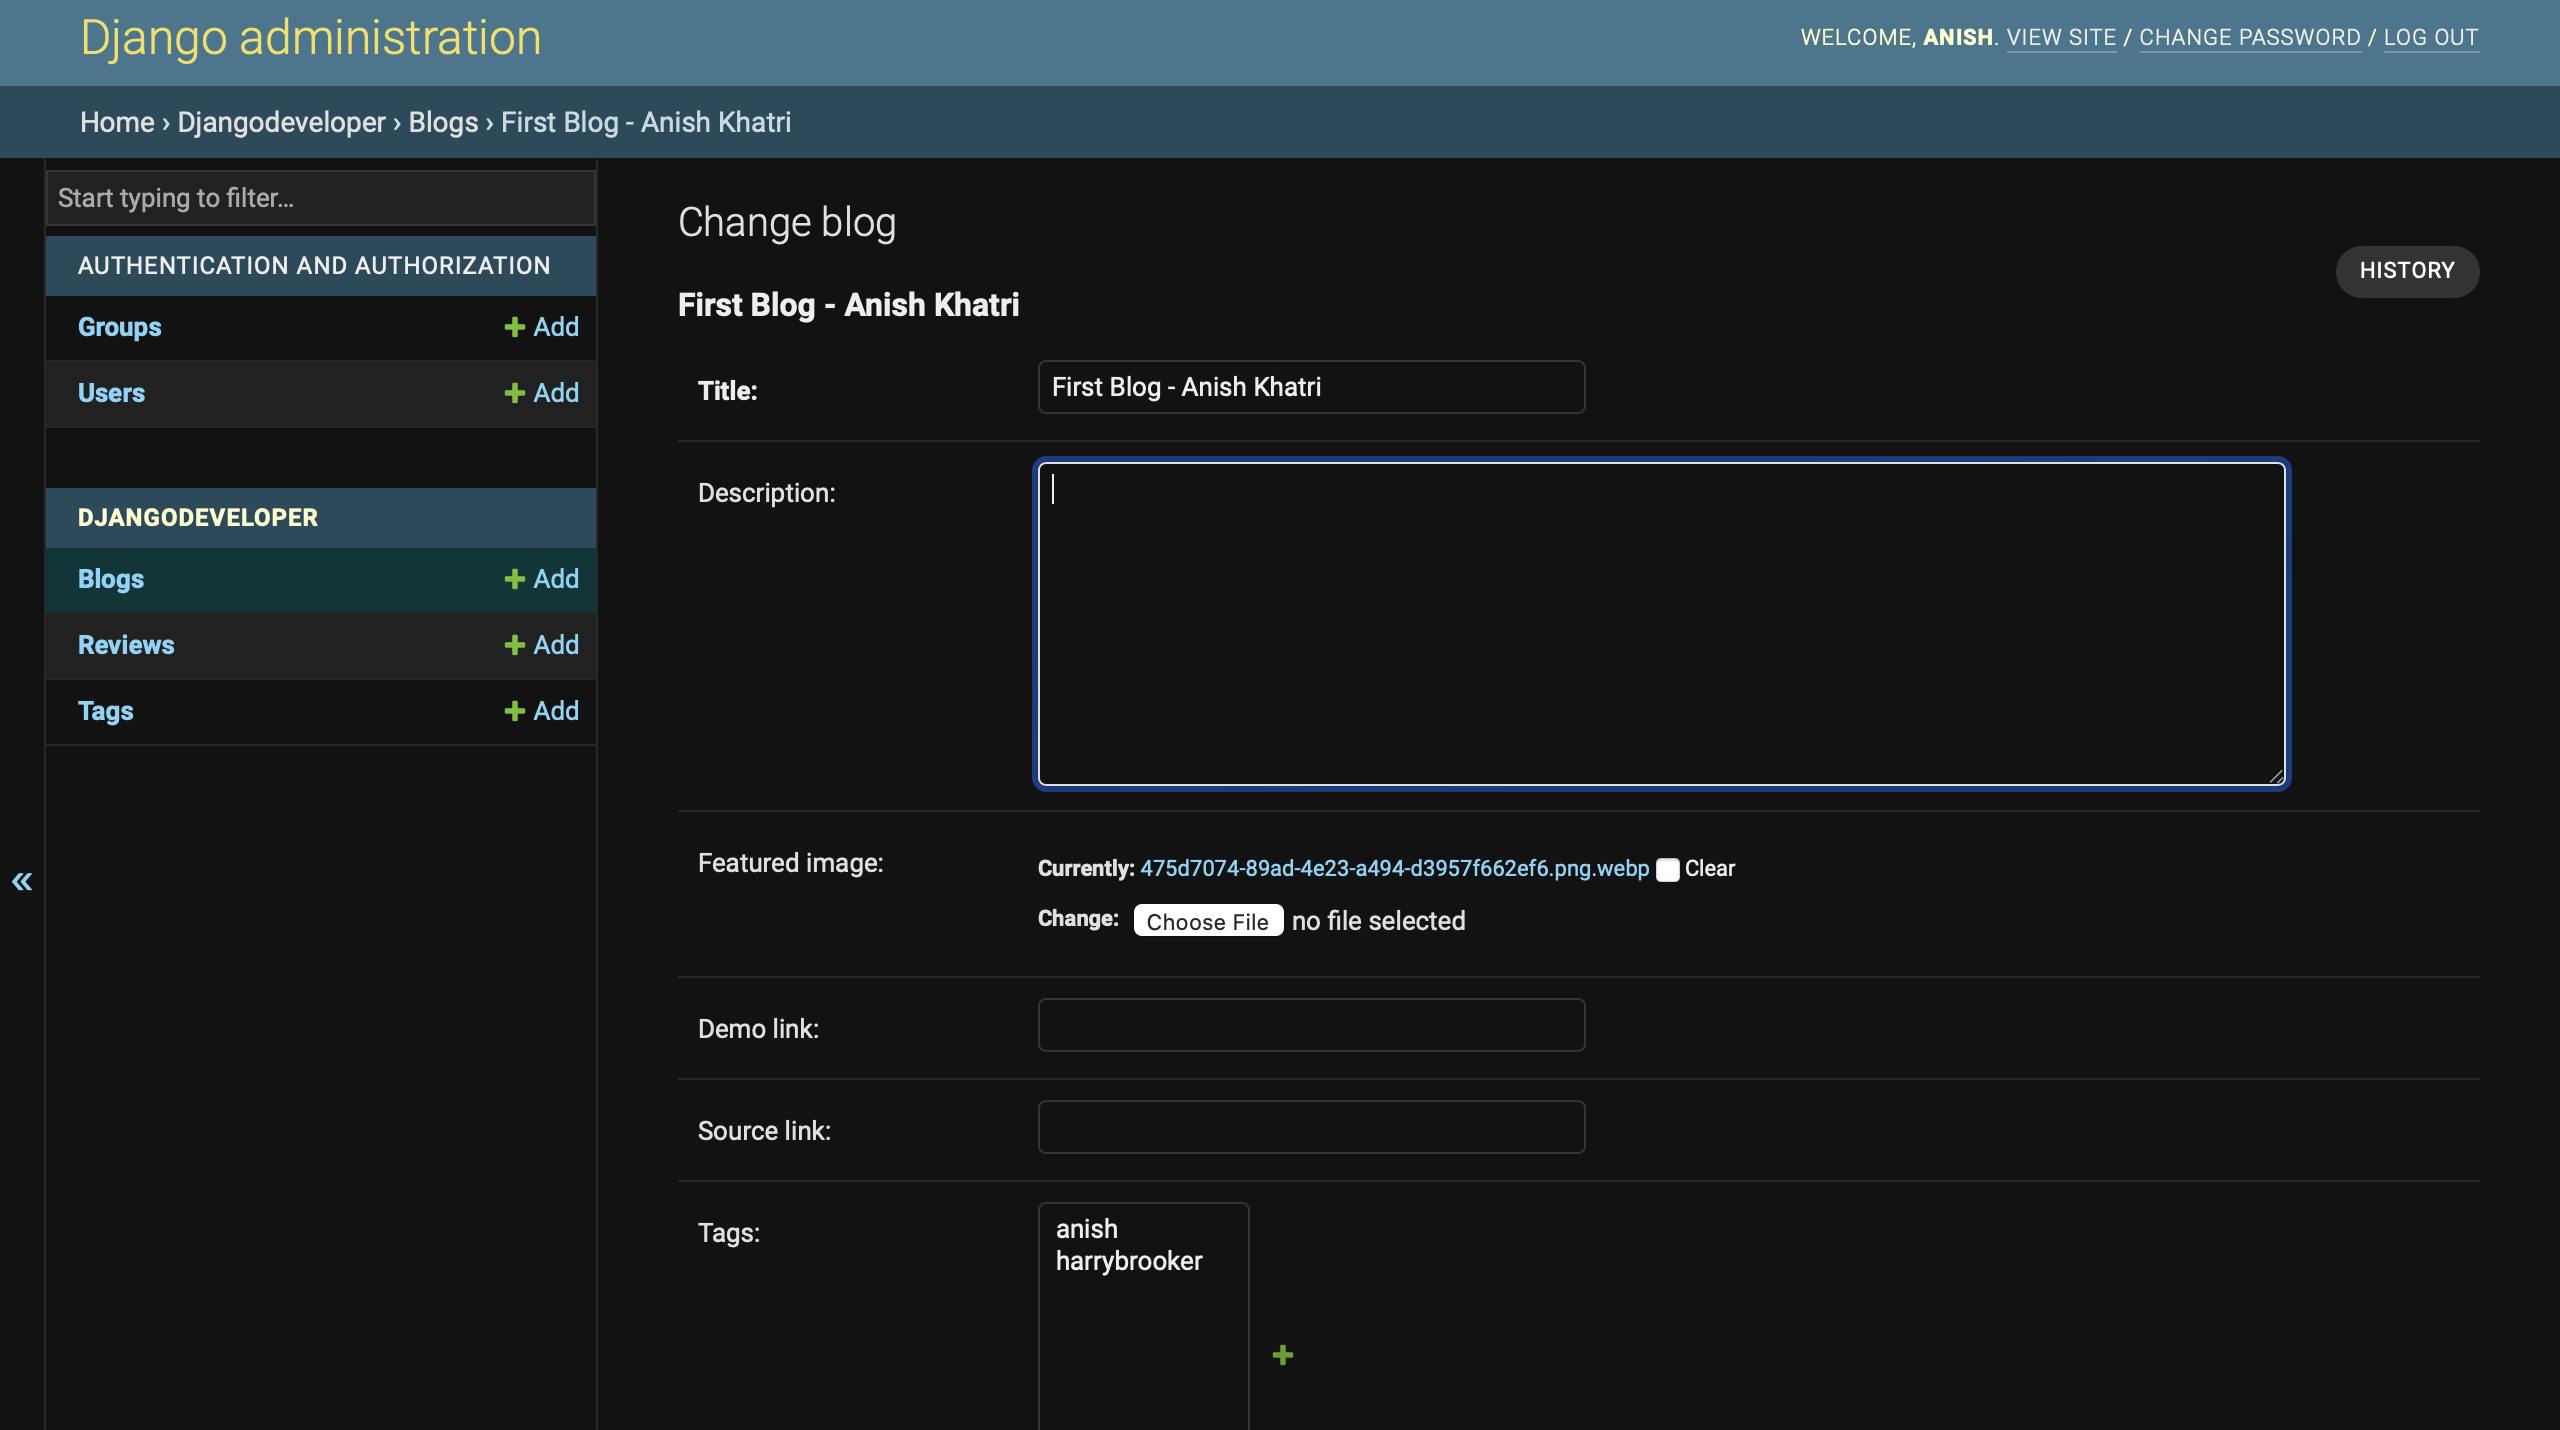
This will provide you with the image field to upload in the Django backend admin panel as shown in the image below:
Step 2: Add Media Settings
Next, we need to add URL patterns for serving media files in our project urls.py file.
MEDIA_ROOT = os.path.join(BASE_DIR, 'static/images')
STATIC_URL = '/images/'
As in the code above, we can add static media for image storage which will promote the images automatically
Step 3: Add URL patterns
Next, we need to add URL patterns for serving media files in our project urls.py file.
from django.conf import settings
from django.conf.urls.static import static
And then we add the URLs in the urls.py file so that the image appears on our pages in front-end as shown in the code below:
urlpatterns += static(settings.MEDIA_URL, document_root= settings.MEDIA_ROOT )
Here, we are importing the static function from Django.conf.urls.static and the settings module from Django, and then adding a URL pattern that serves media files.
Step 4: Add a form to upload images
Now, let's create a form to upload images. In your forms.py file, define a form that has a FileField or ImageField for the image.
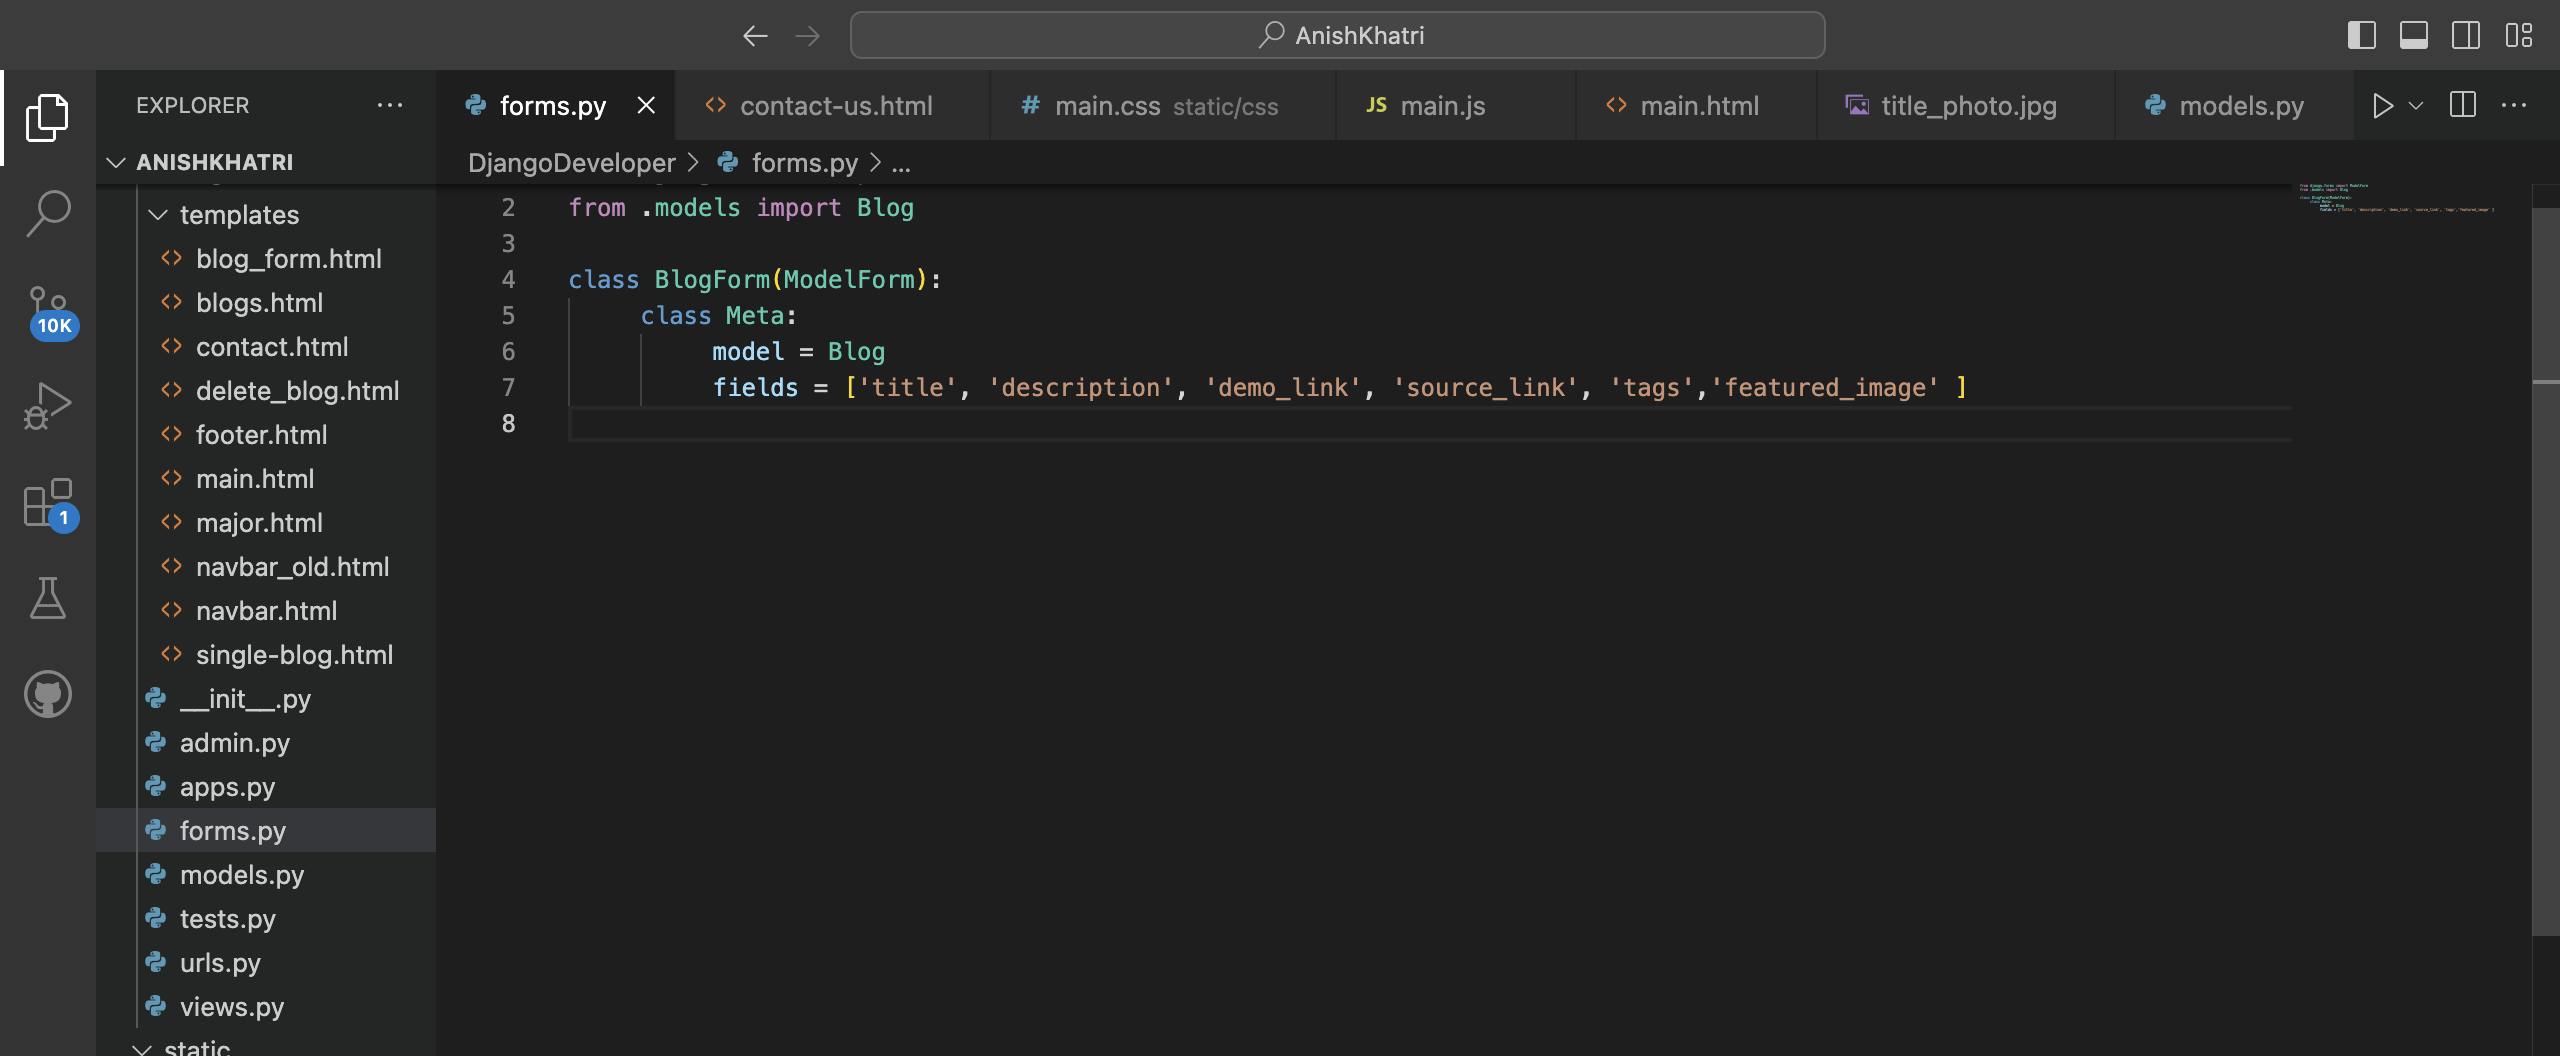
Here, we are creating a form called "BlogForm" that has fields for the title, description, demo_link, source_link, tags and featured_image of a product.
Step 5: Add a view to handle the form submission
Next, we need to create a view that handles the form submission and saves the image to the database.
from django.shortcuts import render, redirect
from .forms import BlogForm
def createBlog(request):
    form = BlogForm()

    if request.method =='POST':
        form = BlogForm(request.POST)
        if form.is_valid():
            form.save()
            return redirect('blogs')
    context = {'form':form}
    return render (request, 'blog_form.html',context)
Here, we are defining a view called "createBlog" that handles the form submission. We check if the request method is POST, and if it is, we create a BlogForm instance with the data and files from the request. If the form is valid, we save the data to the database and redirect it to the blogs page. If the request method is not POST, we create an empty ProductForm instance and render the "blog_form.html" template with the form instance.
Step 6: Display images in templates
Finally, we can display the images in our templates using the MEDIA_URL and the image field of our model.
{% extends 'major.html' %}

{% block content %}
<img src = "{{blog.featured_image.url}}">

<h1>{{blog.title}}</h1>
<hr>
{% for tag in blog.tags.all %}
    <span style = "border:1px solid grey">{{tag}}</span>

{% endfor %}
<hr>
<p>{{blog.description}}</p>

{% endblock content %}
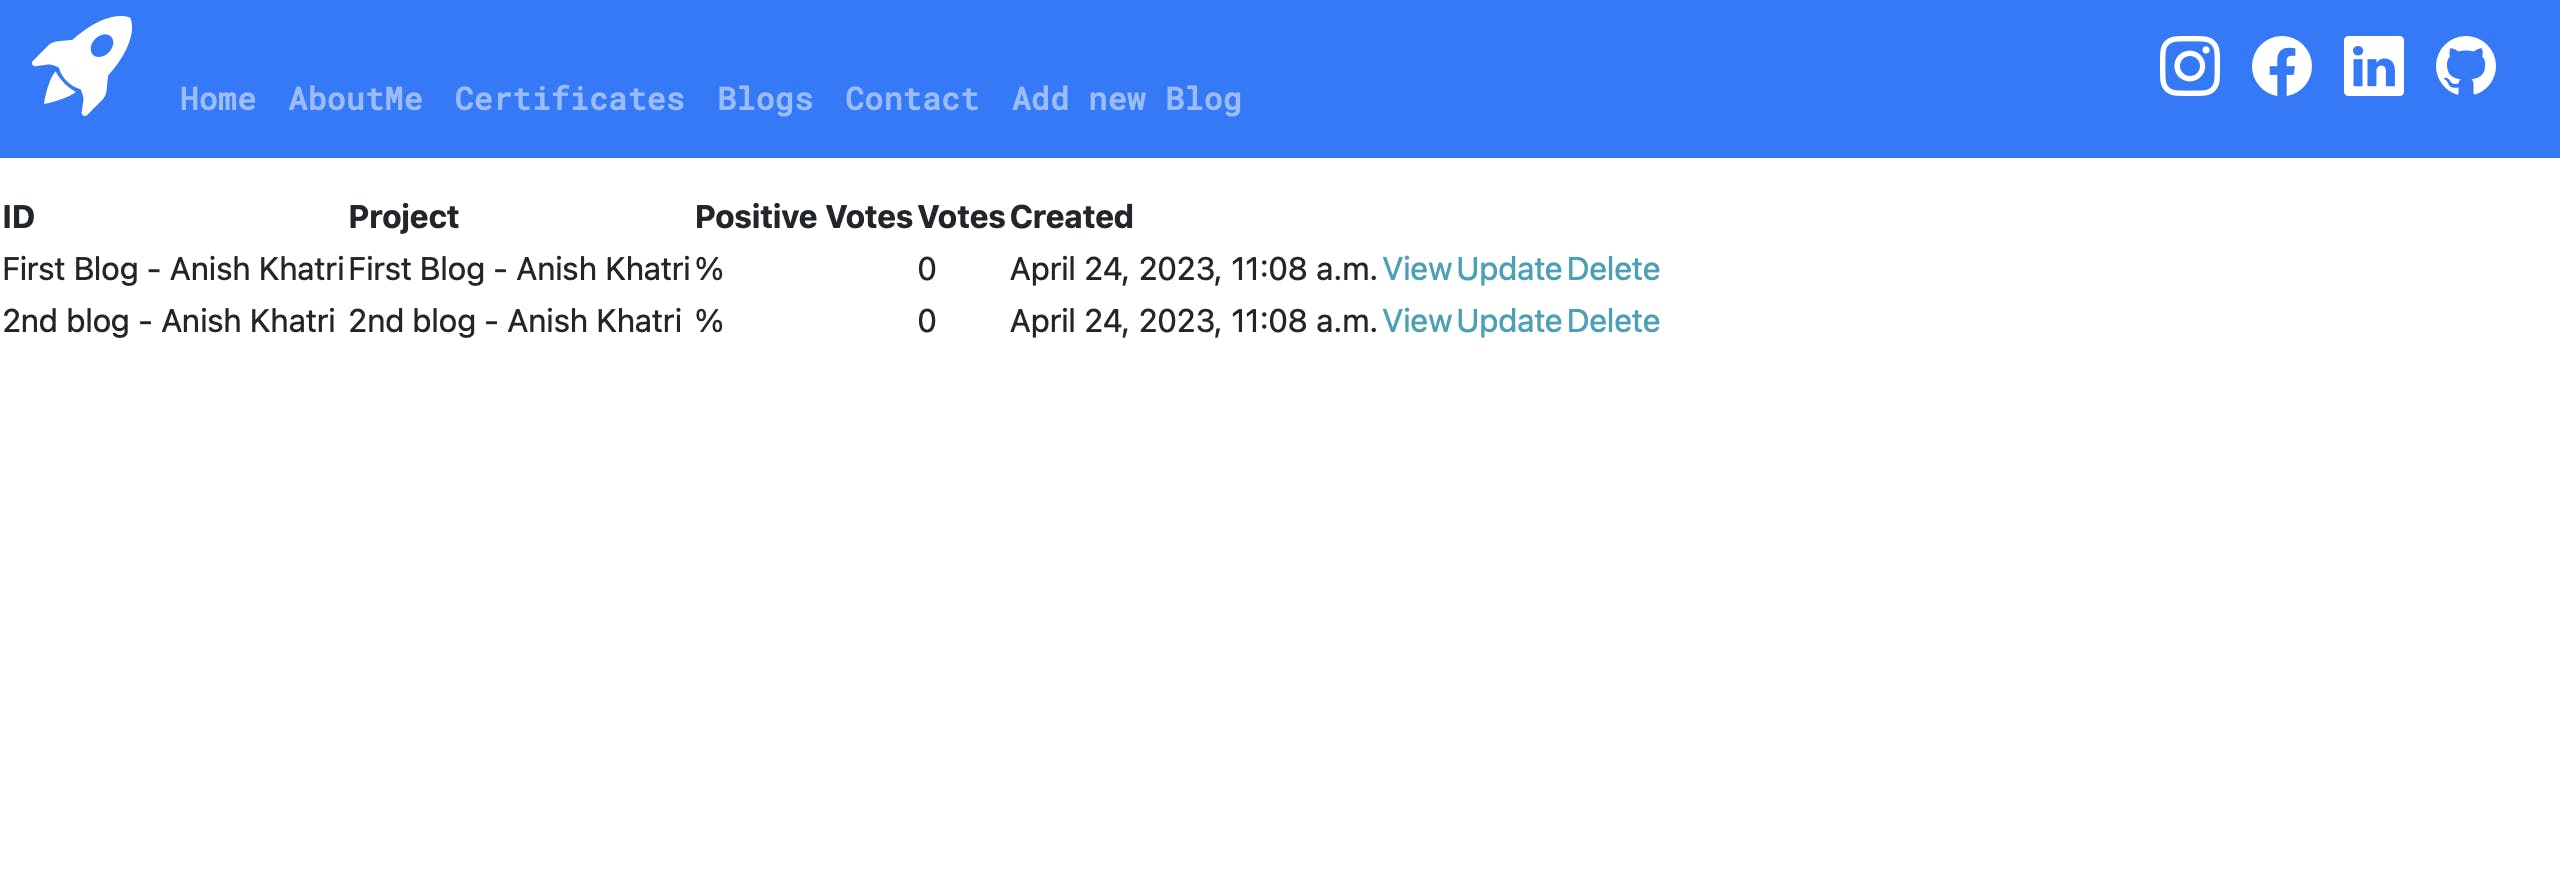
After this, we can view the image in the front end as shown below:
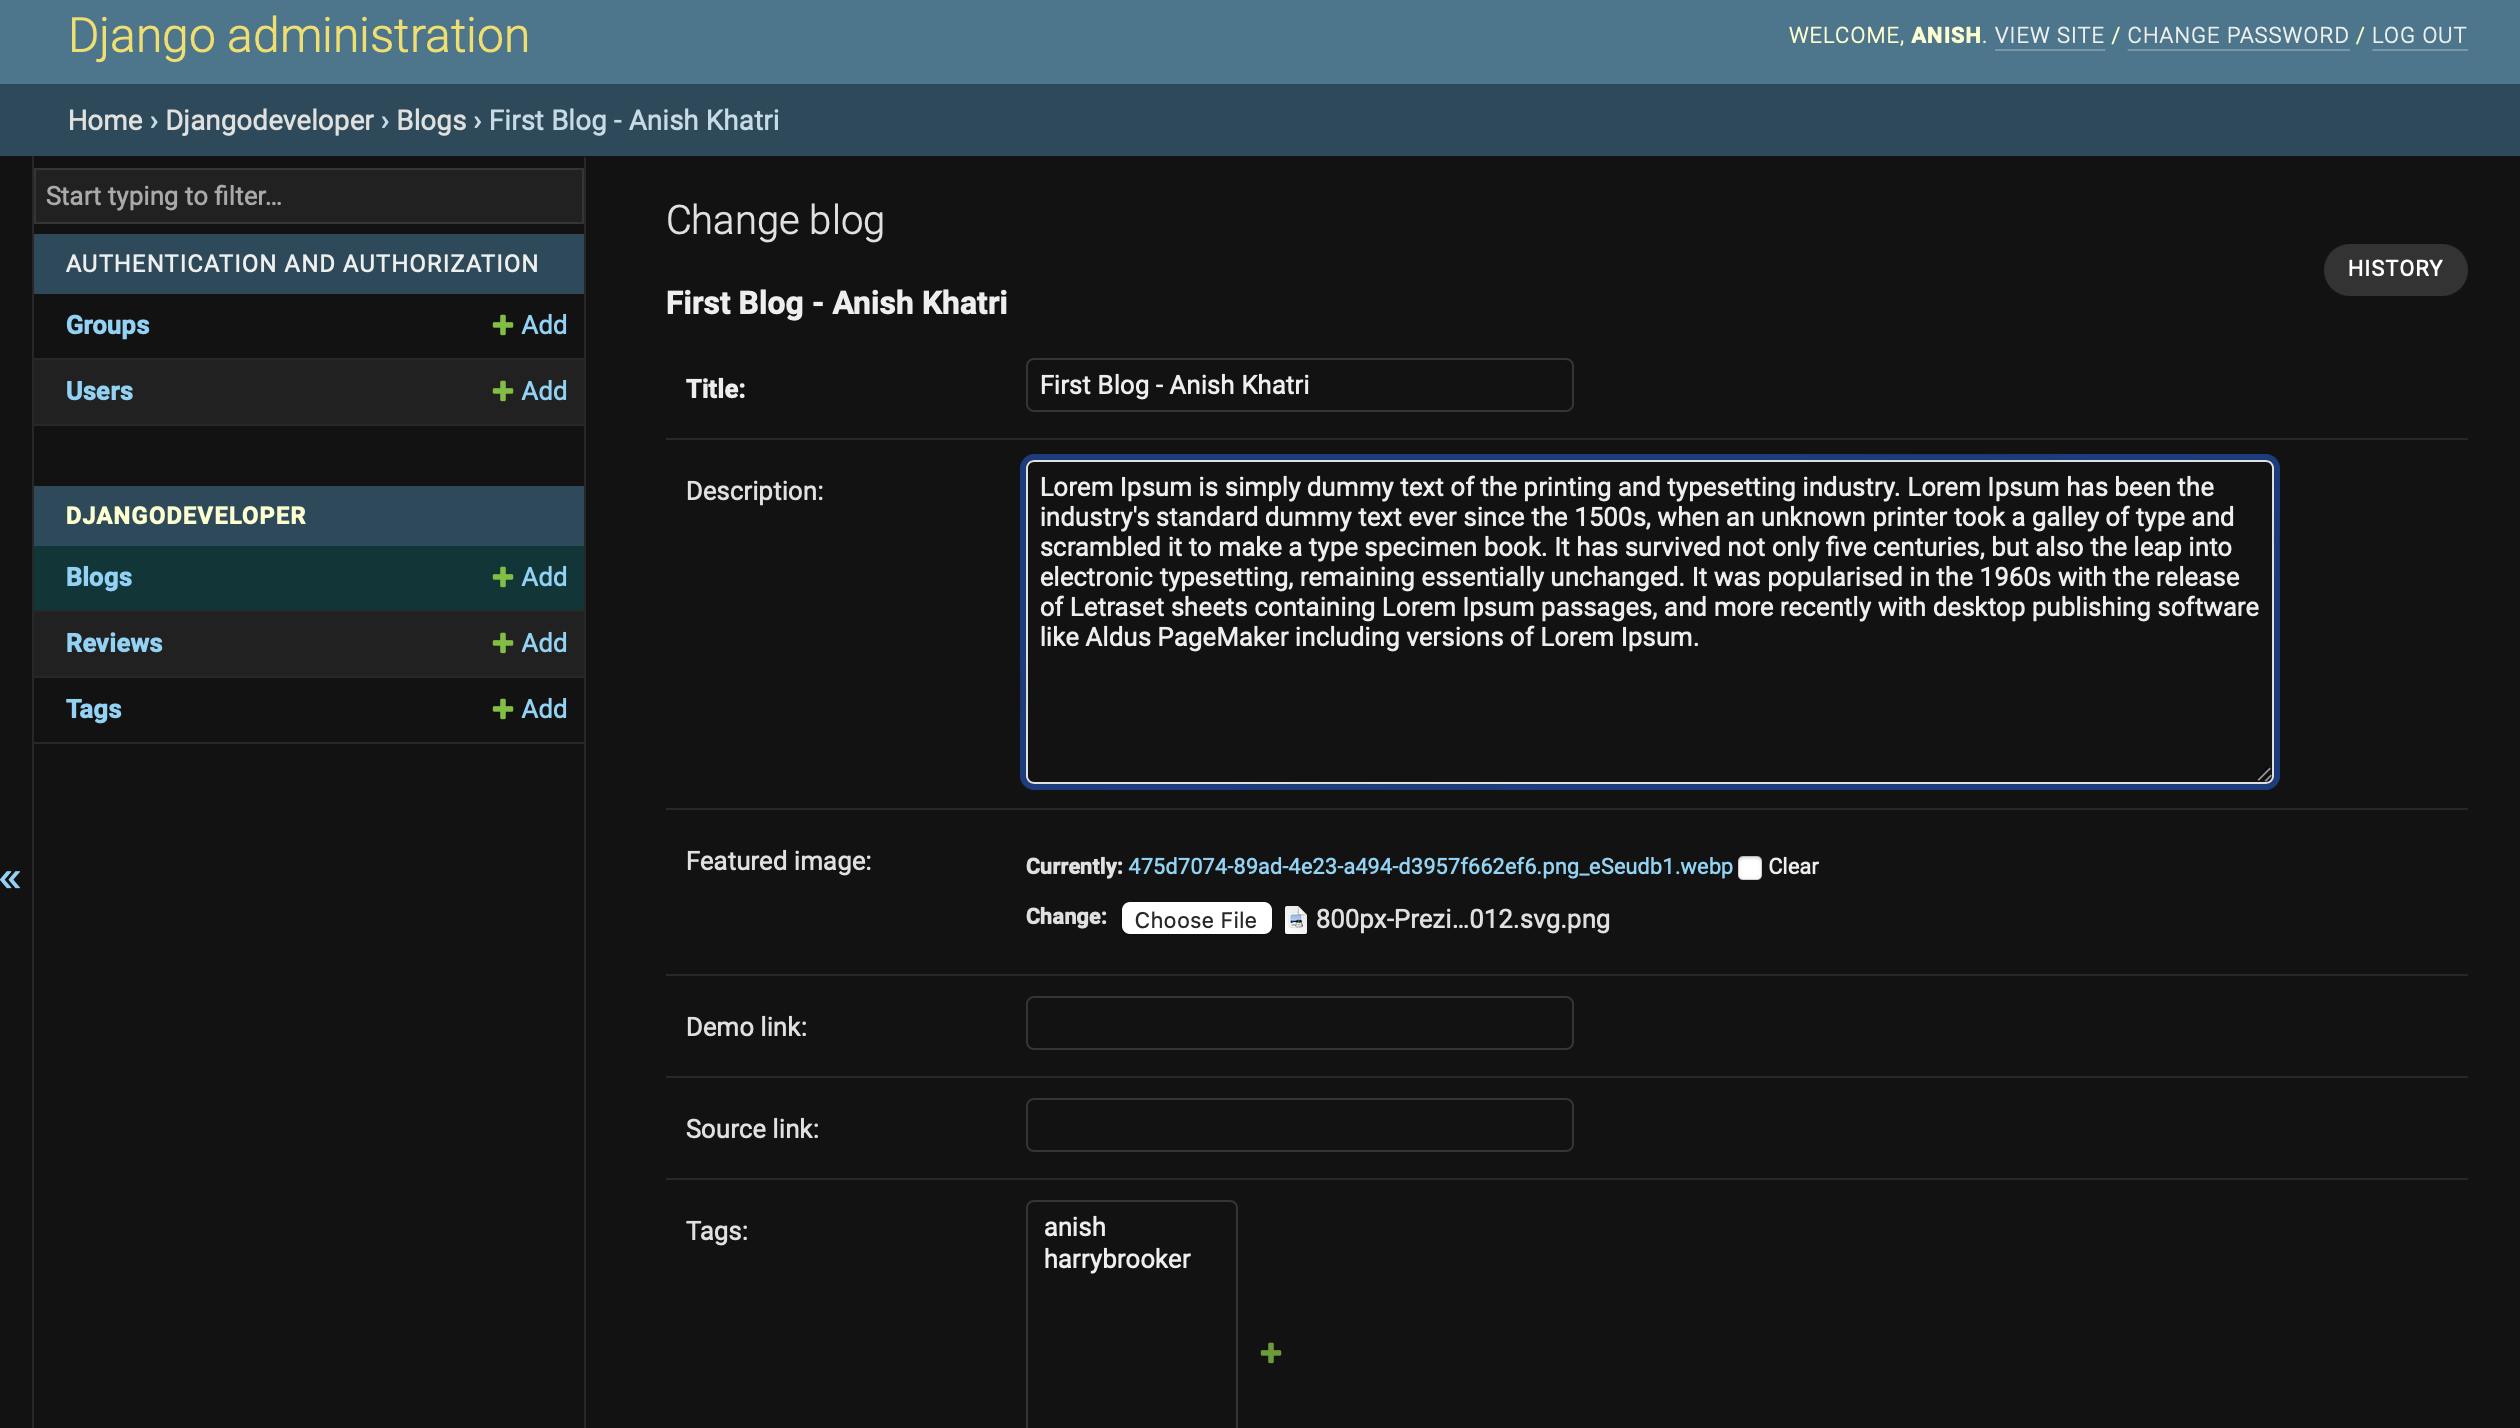
After submitting the image from the back end we can view the image in the front end as shown below:
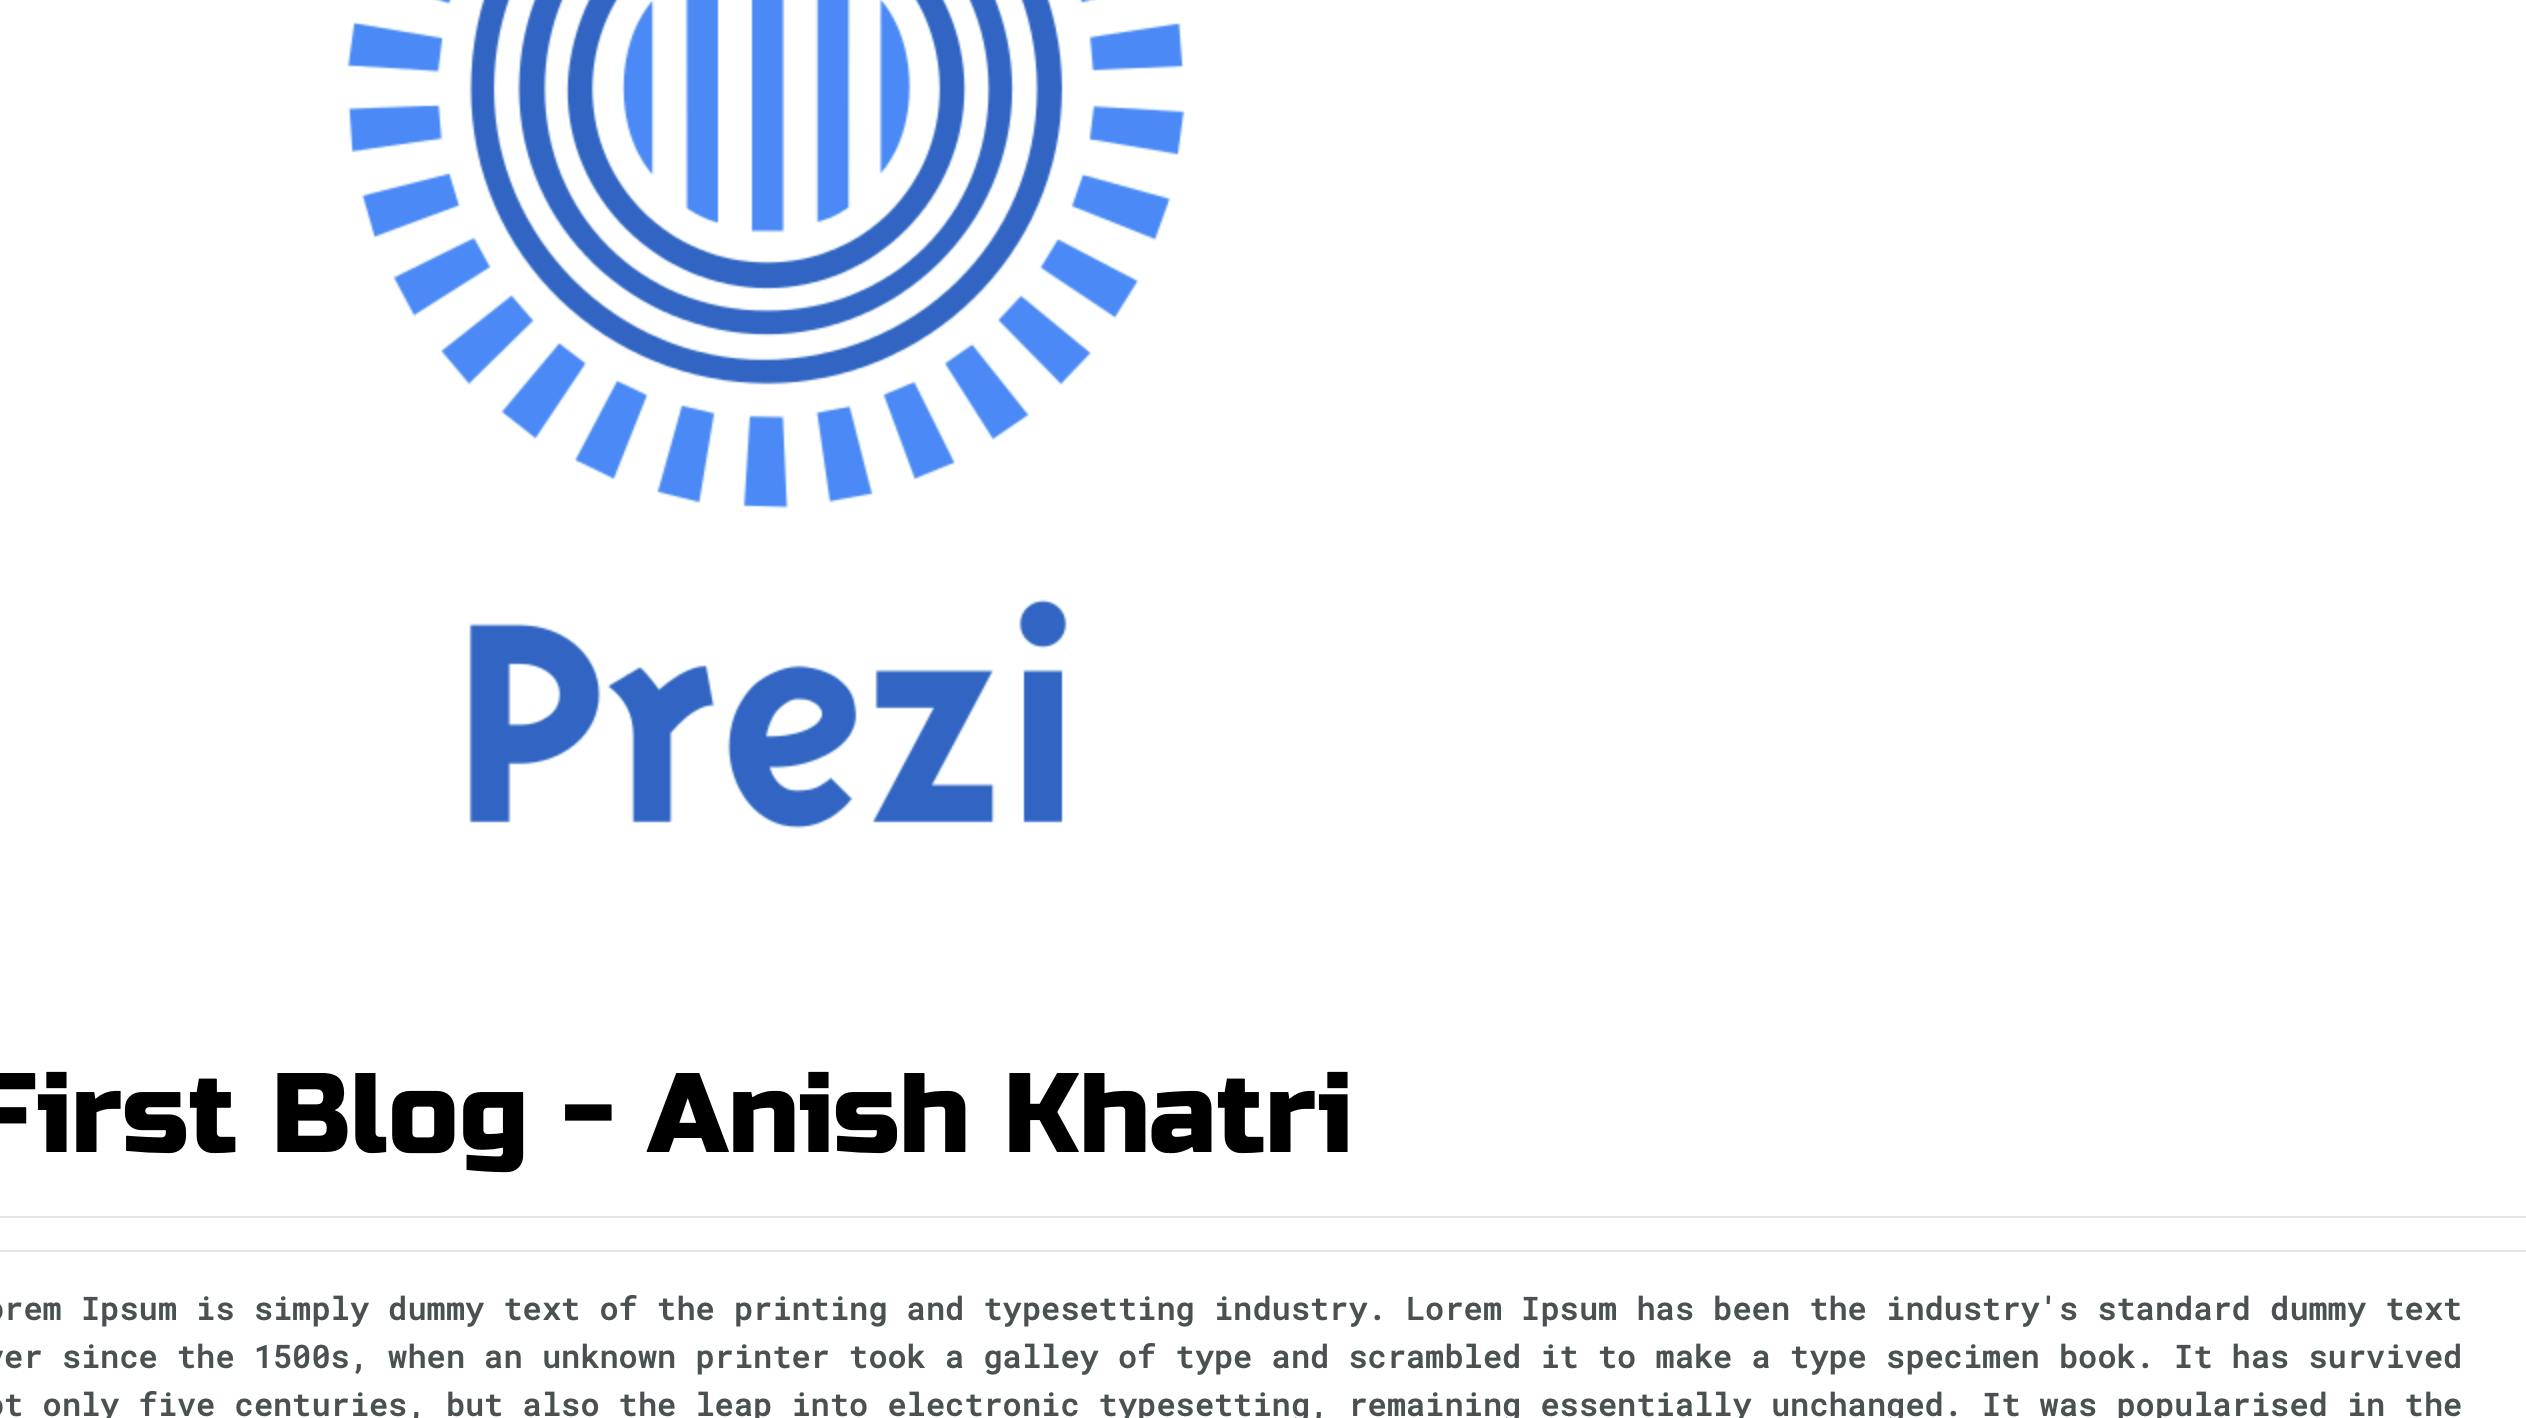
Then when we open the first blog we can view our uploaded image as:
Thank you for reading the blog, hope this will help with your project. If you have any questions, I am more than happy to help you with your project.