Starting a project in Django
Process by process steps for better understanding.


- Install all the setup and requirements to start a Python project.
python3 -m pip install django
- After installing Django and pip, Please refer to the instalment of the Django and pip in the attached document.
https://docs.djangoproject.com/en/4.2/topics/install/
Now starting a project in Django:
Run the code: django-admin startproject CRM
After that run the command: : django-admin startapp Website
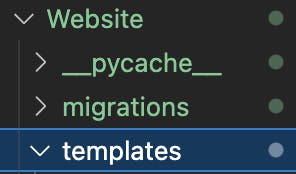
After that your vs code will look similar like this:
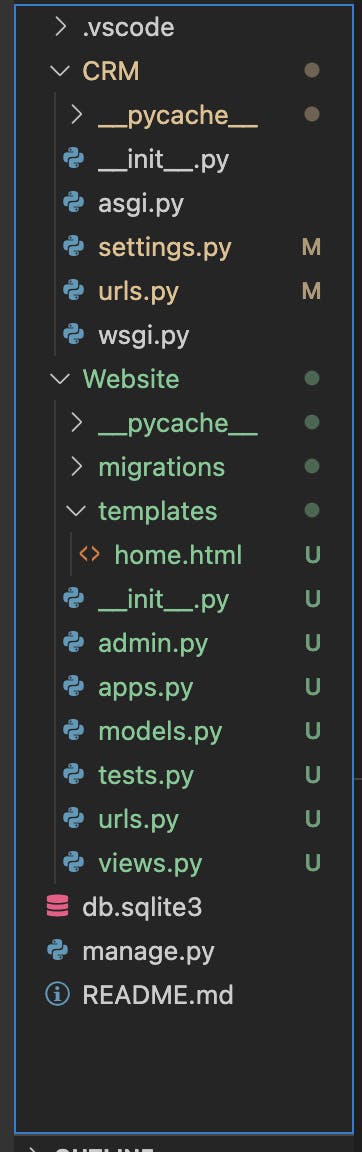
After that setup then create the urls.py file in your app file. In this scenario Website is the app and CRM is the project.
Lets setup our urls files: CRM URLS
from django.contrib import admin
from django.urls import path , include

urlpatterns = [
    path('admin/', admin.site.urls),
    path ('', include('Website.urls')),
]
- After that setup the urls file of our APP: Website as shown below:
from django.urls import path
from . import views

urlpatterns = [
    path('', views.home, name = 'home'),

]
- After this setup, dont forgot to register your app in the setting.py file in Project.
INSTALLED_APPS = [
    'django.contrib.admin',
    'django.contrib.auth',
    'django.contrib.contenttypes',
    'django.contrib.sessions',
    'django.contrib.messages',
    'django.contrib.staticfiles',
    'Website',

]
- After this setup your views so that it can render the file.
from django.shortcuts import render

# Create your views here.


def home(request):
    return render(request, 'home.html', {})
- For that create new folder templates and create home.html in that folder in the app. In this scenerio Website as shown below: